Winter storage ❄️
Proper maintenance and storage during the winter months are the best investments you can make to ensure the equipment works reliably when spring arrives. By following this simple checklist, you protect the technology, preserve battery health, and ensure that your warranty remains valid. It only takes a few minutes per collar, but it helps keep the equipment in top condition and ready for use when the animals head out to pasture again.
1. Clean the collars💧
Use a cloth, lukewarm water, and mild soap. Avoid strong chemicals and solvents, as these can permanently damage the device.
2. Check for damage🕵️
Inspect the collars and check for any damage to the rubber band and solar panel. Damage to the solar panel can affect the ability to charge outdoors.
3. Charge the collars⚡
Charging the collars before winter storage is important to preserve battery capacity over the years. We recommend charging them to 70% or more. Avoid storing the collar with an empty battery, as this can reduce battery life. Only use recommended charging equipment to avoid overheating or damage to the batteries. Use a USB A adapter with a minimum of 1 A and a maximum of 2.4 A power.
4. Turn off the collar🔴
Hold and press the button on the back of the collar until a red light appears. This means the collar is turned off.
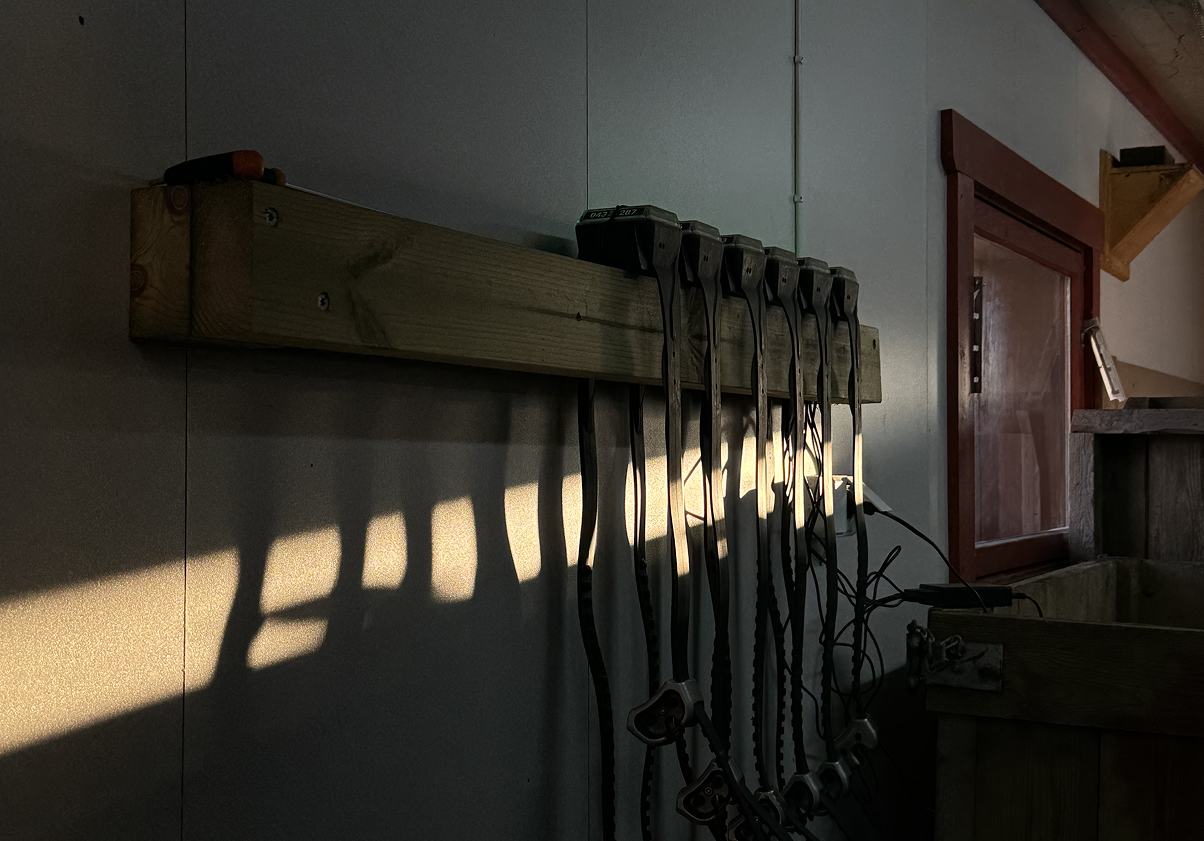
5. Store the collars in a dry place☀️
The collars should be stored dry, at room temperature, and in normal humidity. Avoid extreme temperatures and humidity to prevent damage and corrosion.
We recommend not storing them in the barn during winter time. Moisture and ammonia can damage the collars over time. If you have a workshop or another dry and stable place, that’s the best place to store the collars until the next season.