Get started with this quick guide ⭐
On this page, we’ve gathered all the key steps to get started with Monil.
1. Download the app
Download the Monil app to your phone. Scan the QR code below or search for Monil AS on the App Store or Google Play.

We recommend downloading the app in advance so that you can get familiar with the features.
2. Create an account and set up your organization in the app
Watch the video on how to create an account and set up your organization here.
3. Turn on the collars
To turn on the collar, press and hold the button on the back. The collar is turned on when a green light flashes.
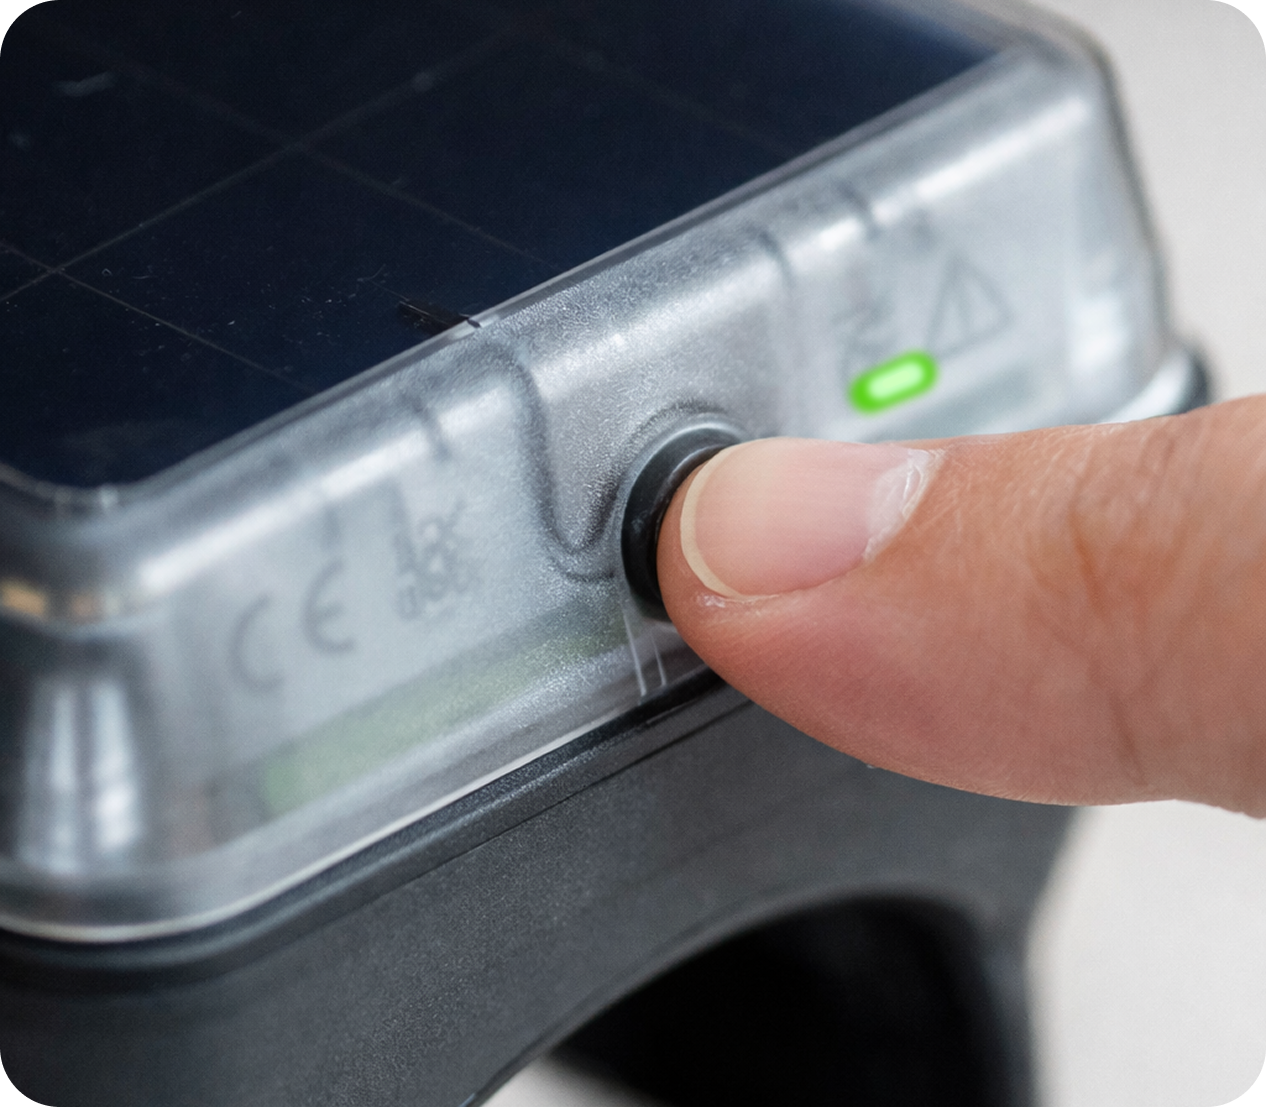
Read more about the different lights means here
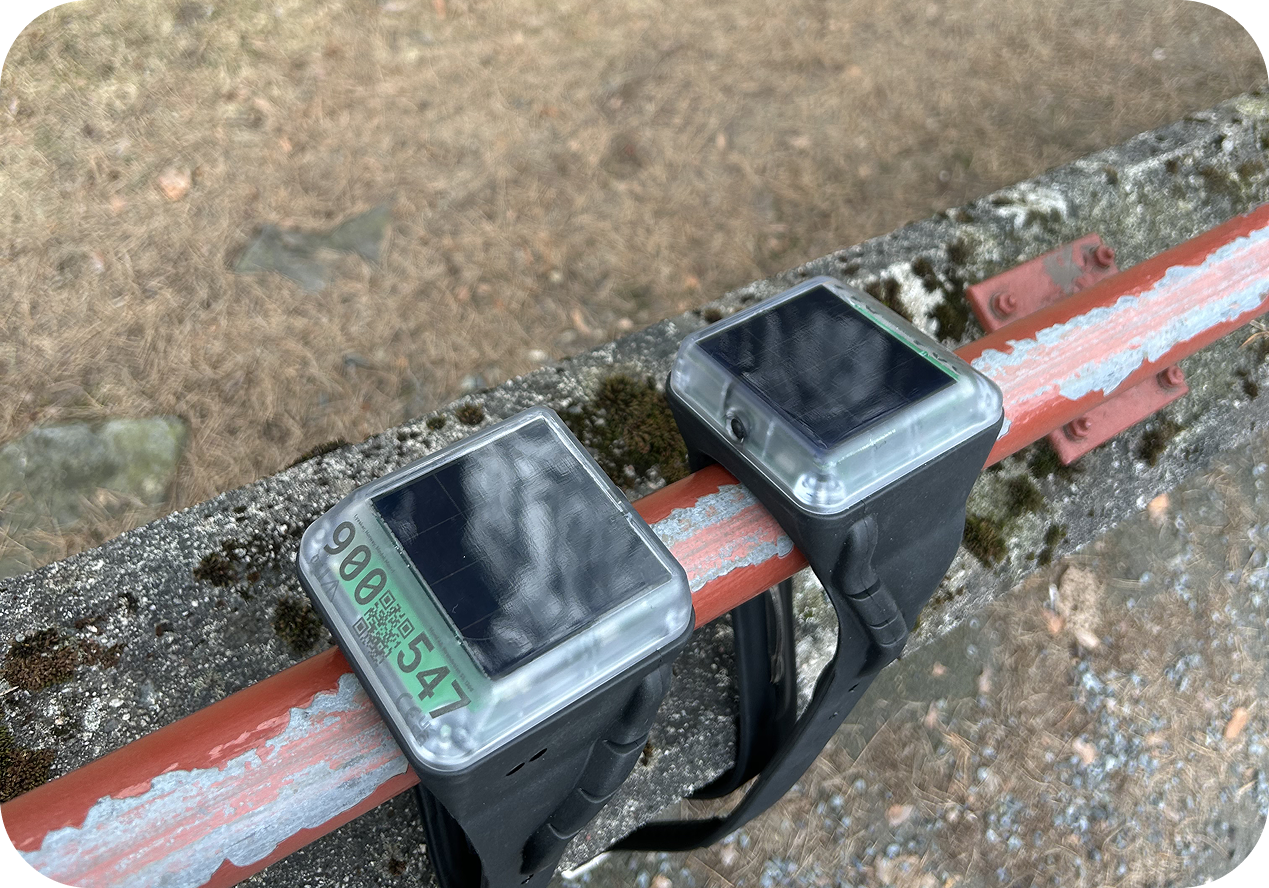
4. Place the collars outdoors
After turning on your collars, we recommend placing them outdoors to fully charge.
5. Add the collars to the app
Collars purchased through the Monil webshop, will be found automatically in the app after they have been shipped.
If you need to add collars manually you can scan the QR code at the top of the collar from the app. Learn more about how to add the collars in the app here.
To see the collar on the map and to add it to virtual fences, you must assign it to an animal in the app. Read more in section 6.1.
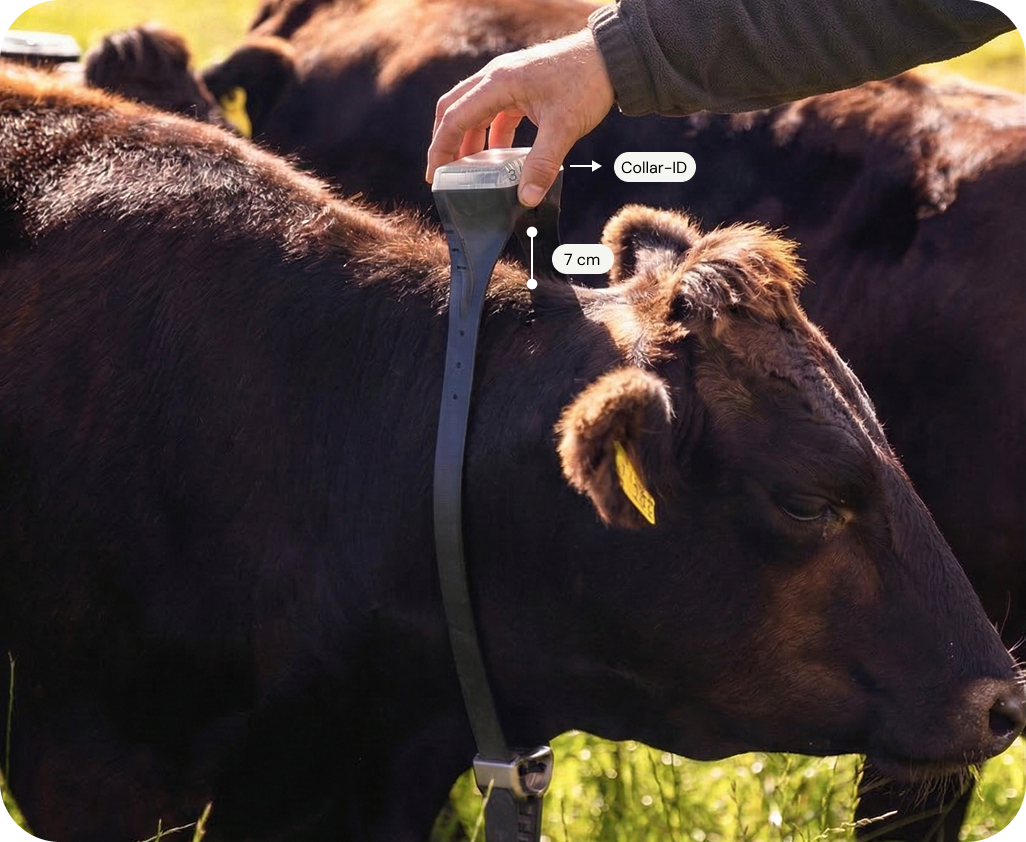
6. Attach the collars on the animals
The most important thing is that the collar should be mounted loosely (at least 7 cm between collar and neck), with the collar ID and the QR code facing forward toward the animal’s head.
Sometimes, the collar might turn upside down or shift around the neck. This is normal and it will eventually adjust itself to upright position. If this happens, we recommend not tightening it any further.
Watch a video and learn more about collar fitting here.
6.1 Assign the collar to the correct animal in the app
During mounting, we recommend assigning each collar to an animal in the app at the same time. This means telling the app which collar the animal is wearing. There is a dedicated screen in the app designed to make this quick and easy. See this article explaining how to assign collars here.
Once the collars are assigned to animals, you will be able to see the animals on the map.
7. Draw a training fence in the app
Get help drawing your first fence here.
8. Train your animals
The goal of the training is for the animals to learn to turn around and go back when they hear the sound signal. This requires frequent interactions with the virtual fence boundary over a week.
We recommend checking out the information in this article to learn more about animal training.